Arcade Game (2022)

Impetus
The idea for this project came from a family trip to Colorado. Instead of spending time in the mountains, as we had intended, our family contracted COVID and had to stay inside our rental house. Fortunately, the rental house has a number of old-style arcade games in the basement. As a result, on the flight home I decided to try and build a retro-style arcade game at home, preferably one that can operate a variety of arcade games from the 80s.
Step 1 - The Trial
Our retro-style Arcade machine was built using a Raspberry Pi, running a custom OS built off Rasbian called RetroPie. In addition, for each game we wanted to play on this Raspberry Pi, we had to download and install a specific ROM. Not all ROMs worked, so this process was a bit trial and error.


Step 2 - The controllers
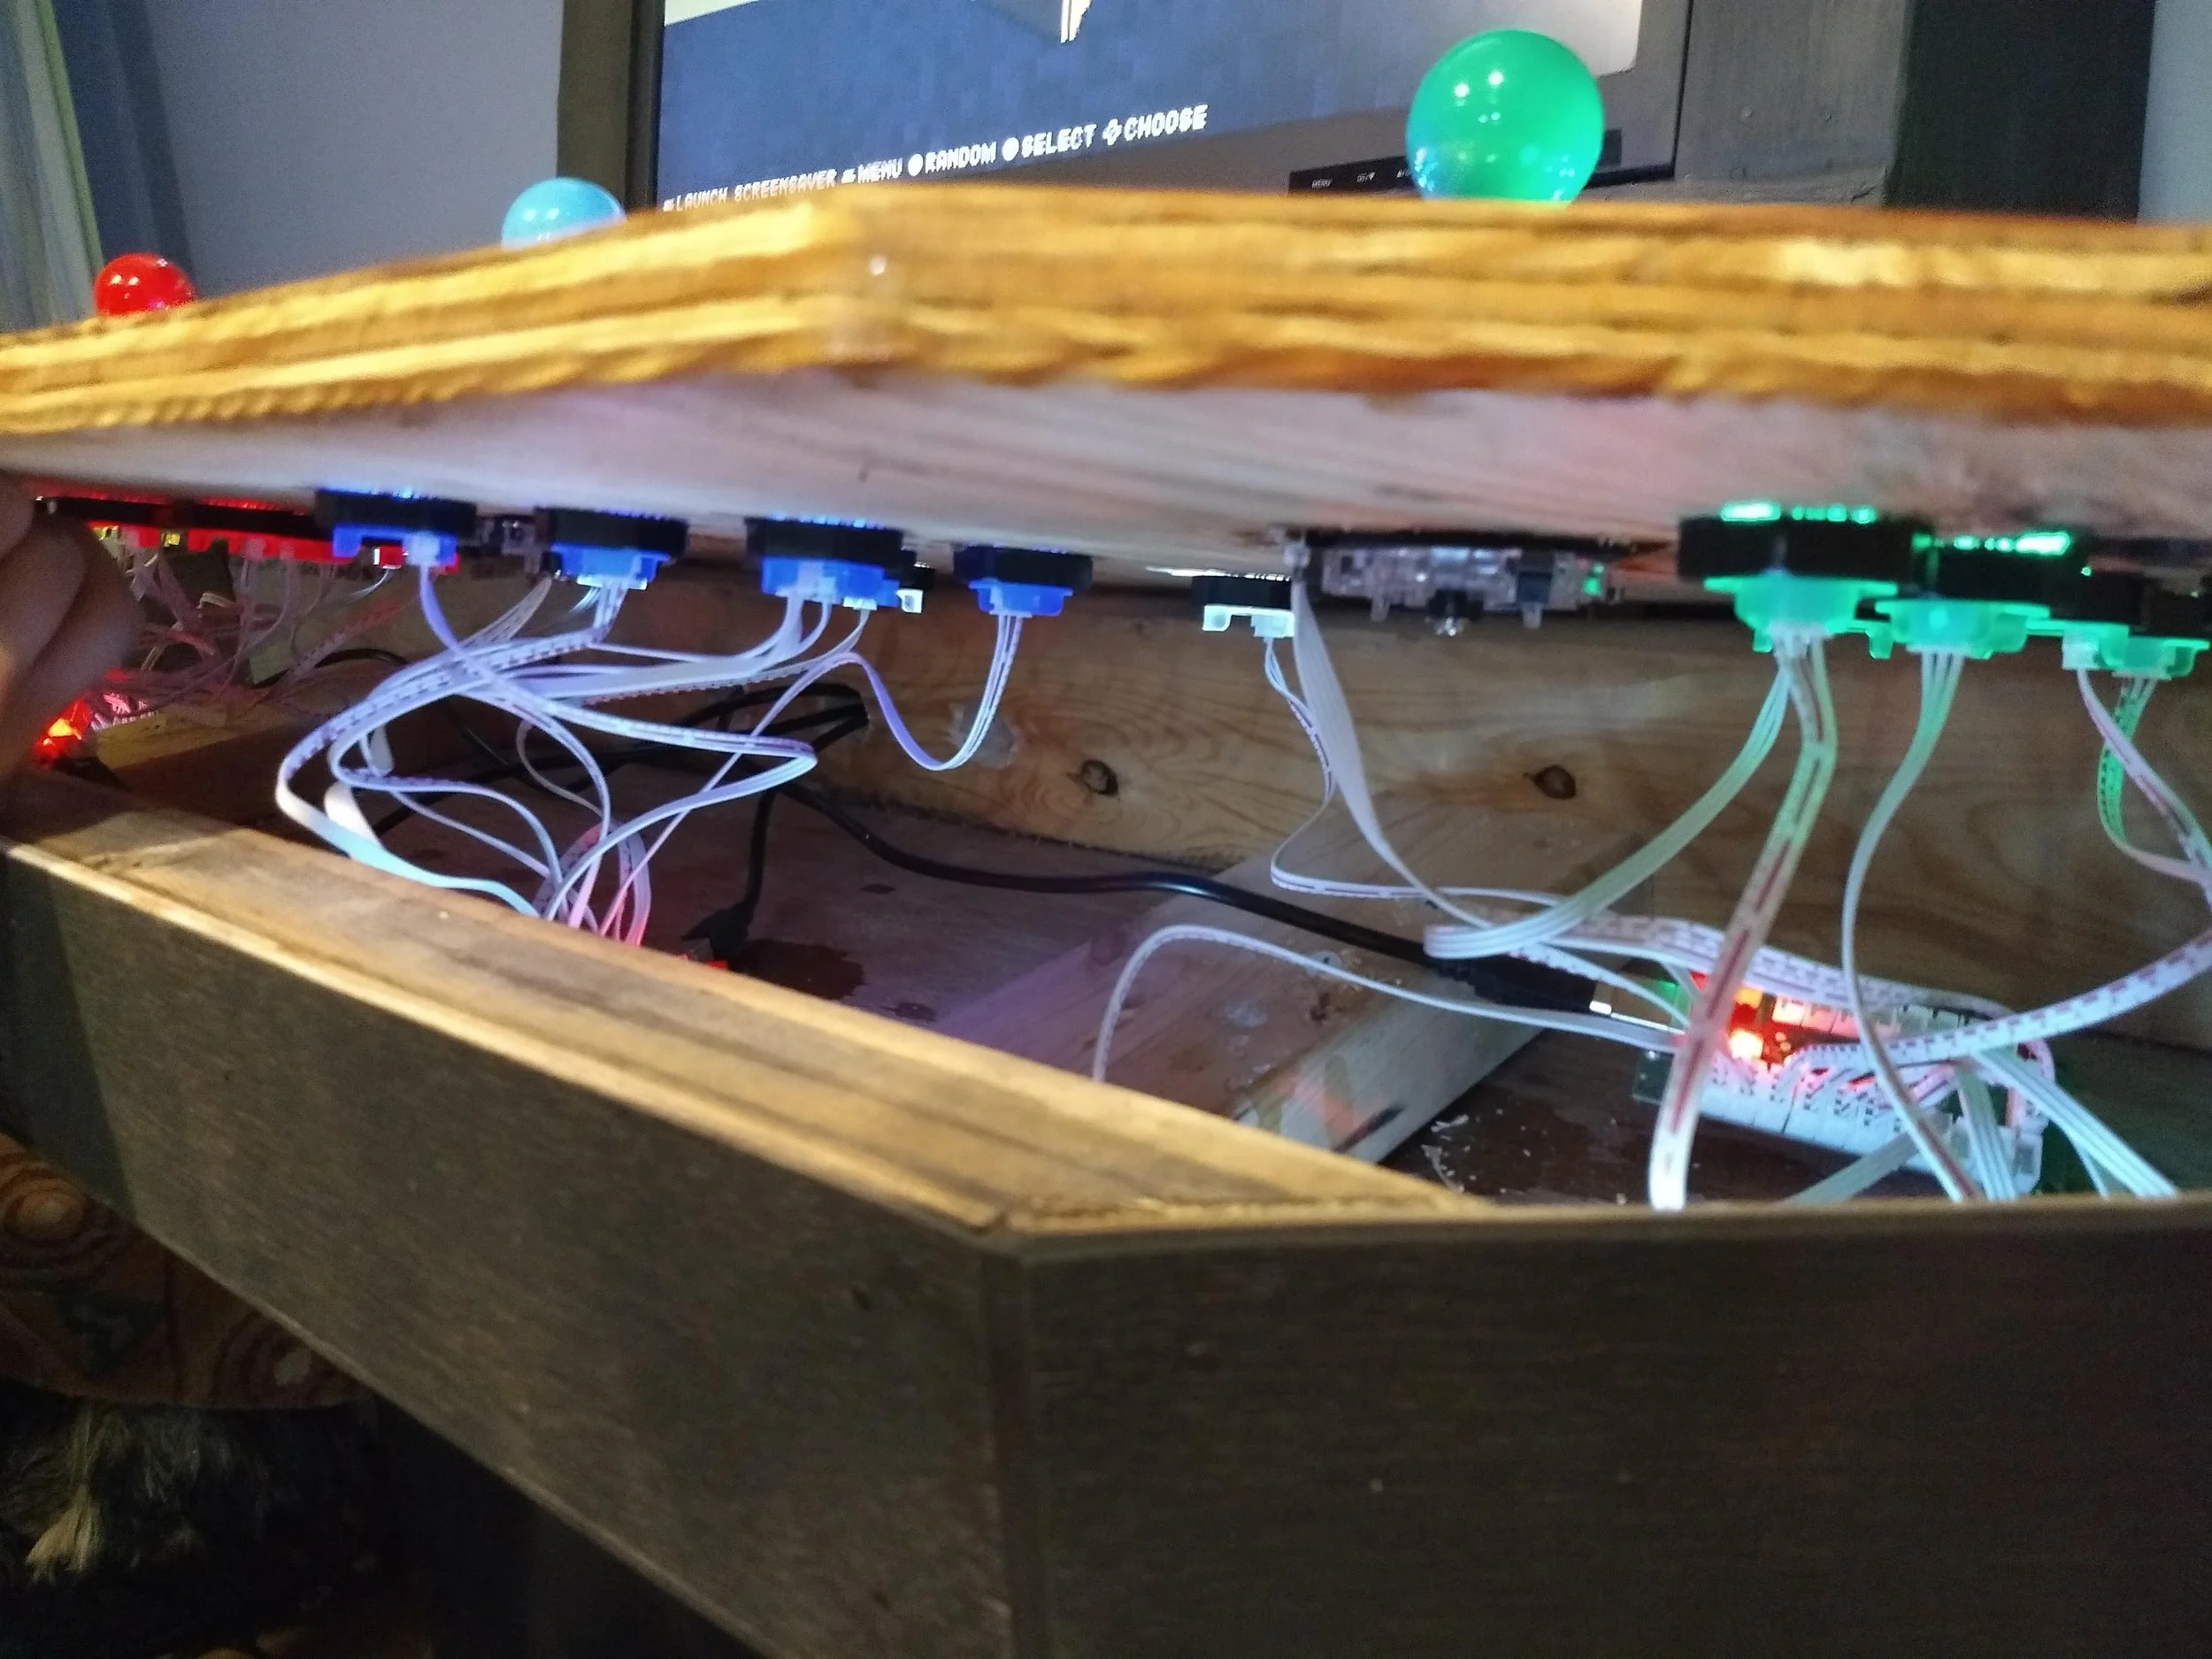
Once we were able to play retro Arcade games using a monitor and keyboard attached to the Raspberry Pi, it was time to think about how we wanted to play those games on our Arcade machine. We definitely wanted an Arcade machine where up to four players could play at the same time. The first step was understanding getting controllers that we liked to work. After some research, we settled on the EG Starts Classic DIY Arcade Joystick kit, that included a joystick, generic buttons, player and coin buttons.
We then carefully laid out the orientation of the controls on the Arcade, since this is important for both the playing experience, and ease of maintenance.
Step 3 - The Arcade Cabinet


After designing out the control cabinet using CAD, and building it, our Arcade was starting to take shape.
Step 4 - The controls (Again)
The mapping of the joysticks, buttons, player buttons and coin buttons to their expected roles in the games on our Raspberry Pi was a non-trivial task, but with enough patience we got this worked out. We could now start a game with the coin buttons, choose the number of players, and play our games!
Now we were ready to integrate what we had into the larger Arcade cabinet.
Step 5 - Wiring
Getting everything to power up from a single button in the front was fairly simple. We simply plugged in everything (computer, speaker, etc.) into a standard power strip, then extended the power strips button to the front of the Arcade.
We did something simpler for our speaker system. For sounds we employ a pair of standard computer speakers which can be plugged into the Raspberry Pi. We then simply extended the power/volume knob to the front of the Arcade.
The end result helps present our home-made Arcade with a more professional appearance.


Step 6 - Improving Joystick Control
At this point we had a working Arcade machine that had the look and feel we had been hoping for. But with dozens of retro-style video games on our Arcade machine, not all of them played as well as they could with the type of joysticks we had. For example, in the Ms. Pac Man game, the player can only move up, down or sideways. But our joysticks provide more degrees of freedom than that. Our simple solution was to 3-D print covers for the joy stick base, which enabled other 3-D printed inserts to be placed that would restrict the joystick movement appropriate for a given game.

We’re Done!
Its done! and it works!
We’d built a four-player Arcade machine, but we were a little disappointed how many actual four-player games were out there. So, we decided to write our own!
We learned that games written in python using ‘pygame’ could be installed and played on the RetroPie OS, so that’s what we did. Our first game was a simple ‘tank’ game we collaborated on: https://github.com/maxoganian/pygameZeroIdeas
